TL;DR
- DIY can work: for small, casual parties where digital photos are enough and someone is happy to look after the setup.
- The hard parts are lighting, printing and supervision: a camera on a tripod is easy; even light, fast prints and a smooth queue are not.
- DIY is rarely free: software, lights, a backdrop and especially a fast printer and its paper add up quickly unless you already own the gear.
- Hire buys certainty: Ghost Booth Events packages start from $850 + GST with setup, studio lighting, unlimited prints and a gallery within 24 hours.
- Middle ground: a Remote or Digital Only package gives you professional gear without an attendant, if budget is the sticking point.
A DIY photo booth is worth it when your event is small, relaxed and you only need digital photos. For most weddings, especially if you want prints on the night, professional hire is usually the better value once you count the gear, the printer, the setup time and the person who has to babysit it.
This guide breaks down what a DIY booth actually involves, what it costs with real Australian prices where we could verify them, and where each option makes sense. We hire booths for a living, so we have tried to be fair: there are events where we would genuinely tell you to do it yourself.
What a DIY photo booth actually involves
A “photo booth” is really five things working together. Miss one and the whole thing feels like a phone on a tripod.
- A camera. A DSLR or mirrorless camera, a webcam, or a tablet’s built-in camera.
- Software. Something that runs the countdown, takes the shots, drops them into a print layout and sends them to the printer or to guests’ phones.
- Lighting. At least one proper light source, diffused, positioned above and in front of guests.
- A backdrop. Fabric, a tension backdrop or a wall, wide enough for groups and weighted so nobody knocks it over.
- A printer (optional). If you want physical prints, this is the single biggest decision in the whole setup.
Then add the boring parts: a laptop, stands, a table, cables, a power board, props, a sign explaining what to do, and someone to set it all up, test it and pack it away at midnight.
What DIY costs: rough Australian figures
Prices change, so treat these as a starting point rather than a quote. We have linked the figures we could verify at the time of writing (October 2026); the rest are clearly rough ranges.
| Item | What it does | Cost |
|---|---|---|
| Camera | Takes the photos | $0 if you own a suitable camera or tablet; otherwise the largest single cost |
| Booth software | Countdown, layouts, printing, sharing | dslrBooth lists plans from US$17 a month billed annually, or US$49.99 for a single month |
| Lighting | Even, flattering light on faces | Rough guide only: a basic continuous light kit is typically in the low hundreds of dollars |
| Backdrop and stands | A clean background that fits groups | Rough guide only: from under $100 for fabric to a few hundred for a tension frame |
| Consumer printer | Occasional postcard prints | Canon’s SELPHY CP1500 was listed from about $198 at Australian retailers, and Canon quotes about 41 seconds per postcard print |
| Event dye-sub printer | Fast, high-volume prints | The Australian DNP distributor lists the DS-620 at $1,760 inc GST, printing a 4x6 in about 8.3 seconds |
| Printer media | Paper and ribbon | DNP’s DS620 4x6 media set was listed at $242 inc GST (on sale at the time for $193.60) |
| Extras | Laptop, table, power board, props, signage | Varies; most people borrow some of this |
Two things stand out. First, the cheap printer is slow. At around 41 seconds a print, a group of six who each want a copy ties the printer up for roughly four minutes, and the queue builds behind them. Second, the fast printer costs more on its own than a full professional hire. That is the core of the DIY maths: a booth is cheap until you want prints.
Our prices exclude GST; the retail prices above include it, so keep that in mind when you compare.
DIY vs professional hire: side by side
| DIY photo booth | Ghost Booth Events hire | |
|---|---|---|
| Cost | Low if you own a camera and skip prints; climbs quickly with lighting, software and a printer | From $850 + GST; most packages sit between $850 and $1,500 + GST depending on hours, attended or remote service and add-ons |
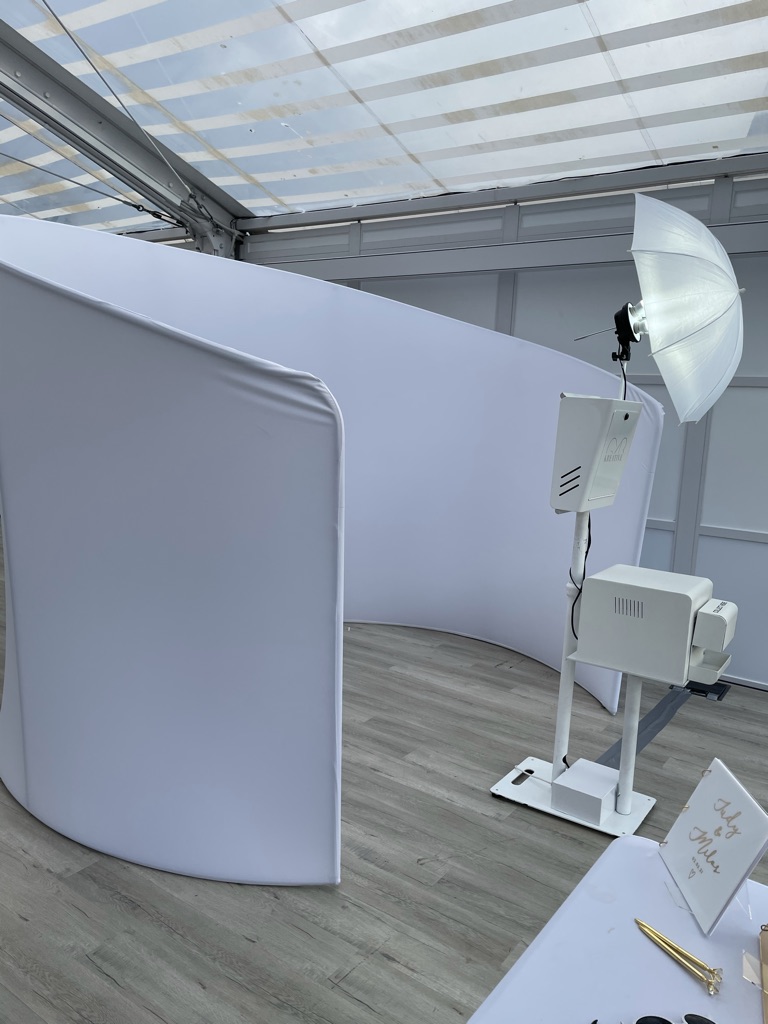
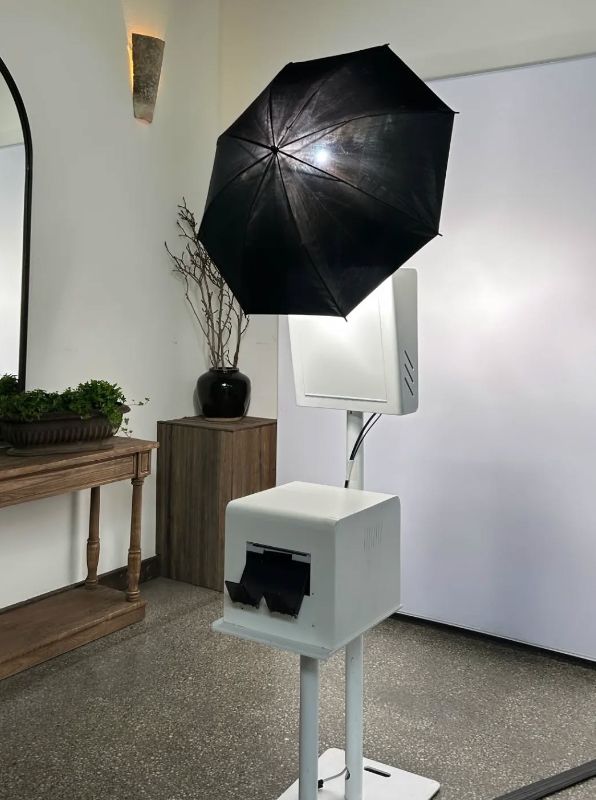
| Gear needed | You source, borrow or buy everything, then test it together | DSLR camera, studio lighting, dye-sub printer, touchscreen sharing station and tension backdrop on weighted stands, all supplied |
| Lighting | The most common weak point; room lights dim during dinner and dancing | Professional studio lighting, so photos look the same late at night as they did at the start |
| Printing | Slow consumer printers or a costly event printer you have to load and manage | Unlimited prints with face-detection, which prints one copy per person in the shot |
| Attendant | A friend or relative gives up part of their night | Attended packages include a trained attendant for the full hire; Remote packages are monitored every 20 to 30 minutes |
| Guest experience | Charming if it works; frustrating if guests are left guessing | Custom print design matched to your stationery, animated GIFs, text and email sharing, posing help on Attended packages |
| Risk | Flat batteries, software crashes, paper jams, nobody to fix them | Tagged and tested equipment, public liability insurance, and a team that has run booths at 1,000+ events |
| Setup and pack-down | Your job, usually at the busiest moments of the day | Included |
| After the event | You collect and share the files yourself | Online gallery link within 24 hours |
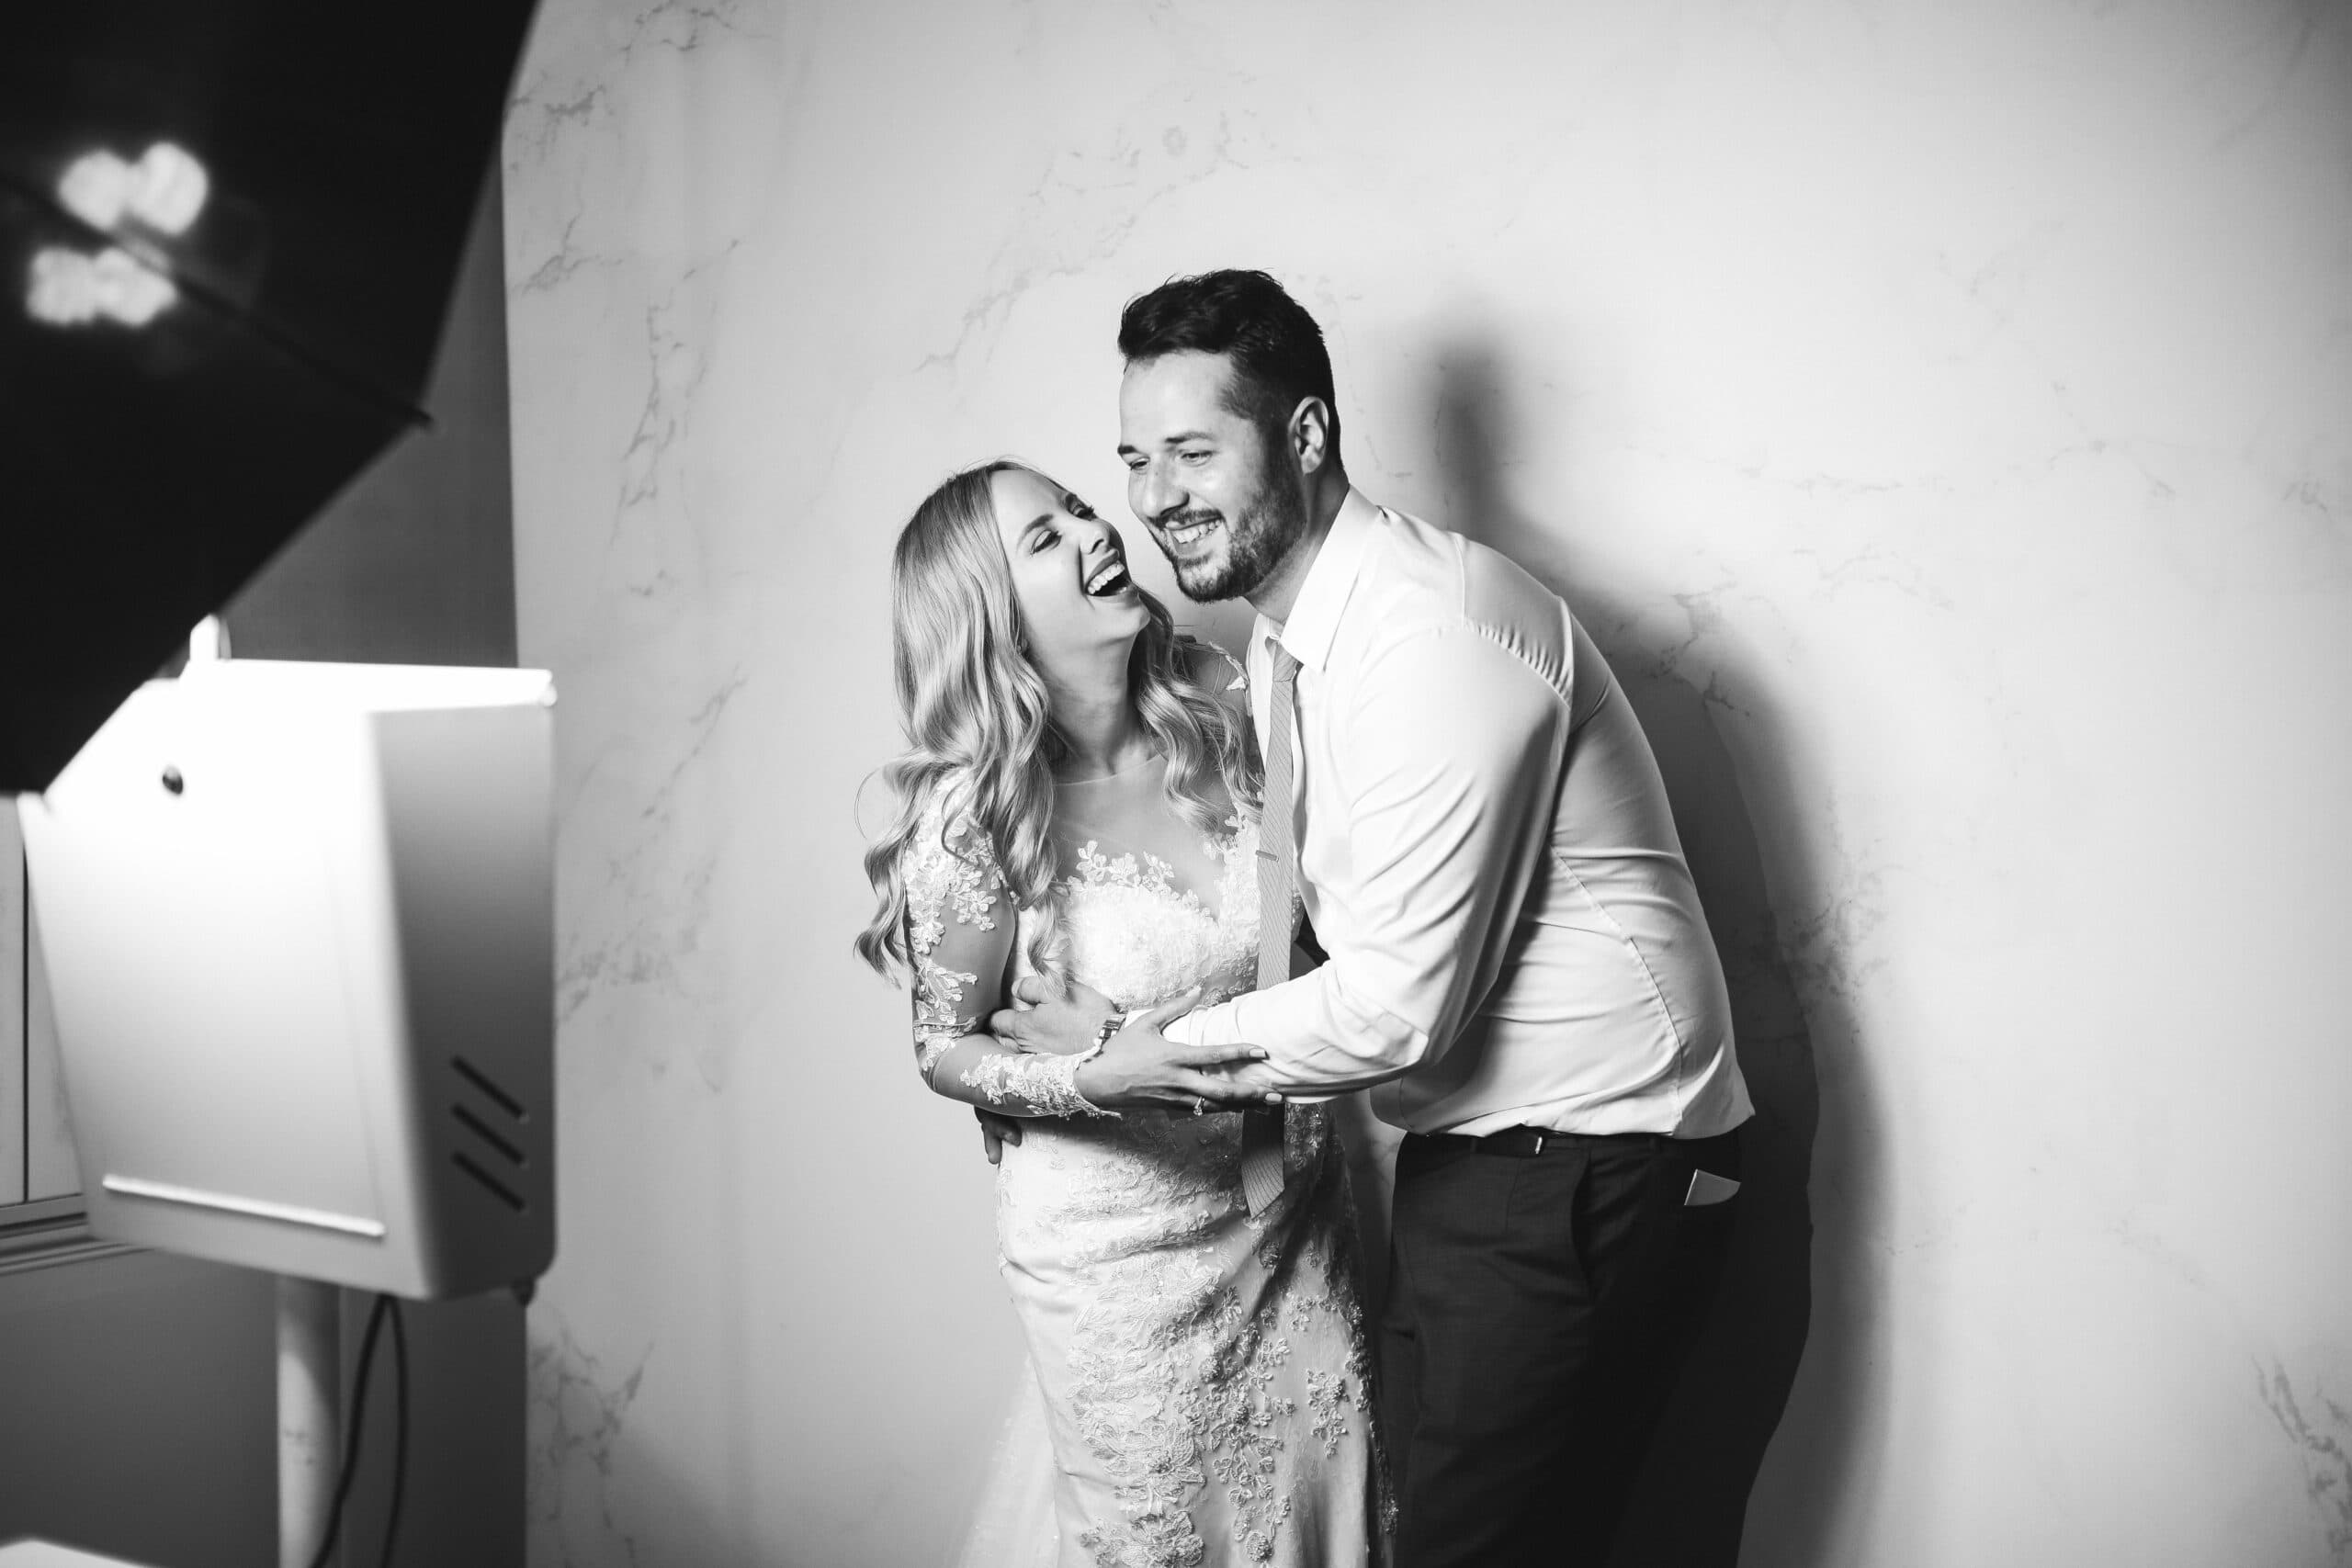
A big, diffused light source close to the camera is what gives booth photos that clean, even look.
When DIY genuinely makes sense
We would happily point you towards a DIY setup if most of these are true:
- Small guest list. A backyard birthday or engagement drinks with a few dozen people, where a queue never really forms.
- Digital is enough. Guests are happy to get photos later, so you can skip the printer entirely.
- You already own the gear. A decent camera, a tripod and a light or two shrink the cost dramatically.
- Someone wants the job. A friend who enjoys tech and is content to keep an eye on it for the night.
- The room is well lit and stays that way. Daytime events in bright spaces forgive a lot.
- Low stakes. If it fails, nobody will mind much.
For a casual party like that, a phone or tablet booth app with a ring light and a fabric backdrop can be a lot of fun.
Where DIY tends to struggle at weddings
Weddings stress a DIY booth in ways a birthday doesn’t.
- The light changes. Venues drop the lights for dinner and again for dancing. Without dedicated lighting, photos get grainy, blurry or yellow just as the booth gets busy.
- Prints become the bottleneck. The moment one person gets a print, everyone wants one. A slow printer turns a fun corner into a queue.
- Someone has to run it. Paper runs out, a cable gets kicked, the laptop goes to sleep. That job usually lands on a cousin or bridesmaid who should be on the dance floor.
- Setup lands at the worst time. The booth needs building and testing while you are getting ready, then packing down after the last song.
- Group shots need width. Large groups need a wide backdrop and enough space to step back. Our open-air booth needs roughly 2 m by 2 m including the backdrop.
- Nobody to guide guests. Shy guests and older relatives often need a friendly prompt before they will step in.
None of these are impossible to solve. They just take money, time or a person, and those are the three things in shortest supply in wedding week.
If you do go DIY: a quick checklist
If DIY suits your event, these steps will save you a lot of grief:
- Do a full dress rehearsal in a similar room, at night, with the lights dimmed.
- Light from above and in front. One large, diffused light just above the camera beats several small ones scattered around.
- Lock the camera settings so exposure doesn’t jump between shots.
- Weigh down everything. Sandbags or weights on stands, cables taped flat.
- Plug into a single power board with a built-in safety switch, and keep leads out of walkways.
- Print a simple sign: “Press the screen, look at the camera, three photos, prints on the left.”
- Stock double the paper you think you need, and practise reloading it.
- Name one person in charge and give them a short handover sheet.
- Turn off sleep and update settings on the laptop or tablet.
- Back up the photos to a second card or drive at the end of the night.
What professional hire includes
Every Ghost Booth Events package includes setup and pack-down, a modern open-air booth, unlimited sessions, unlimited prints with face-detection, your choice of backdrop, a custom-designed print template matched to your stationery, animated GIF export with text and email sharing, and an online gallery link within 24 hours. Prints come as a 6x4 postcard (up to four photos) or the classic 6x2 strip, which is fastest to print for large receptions.
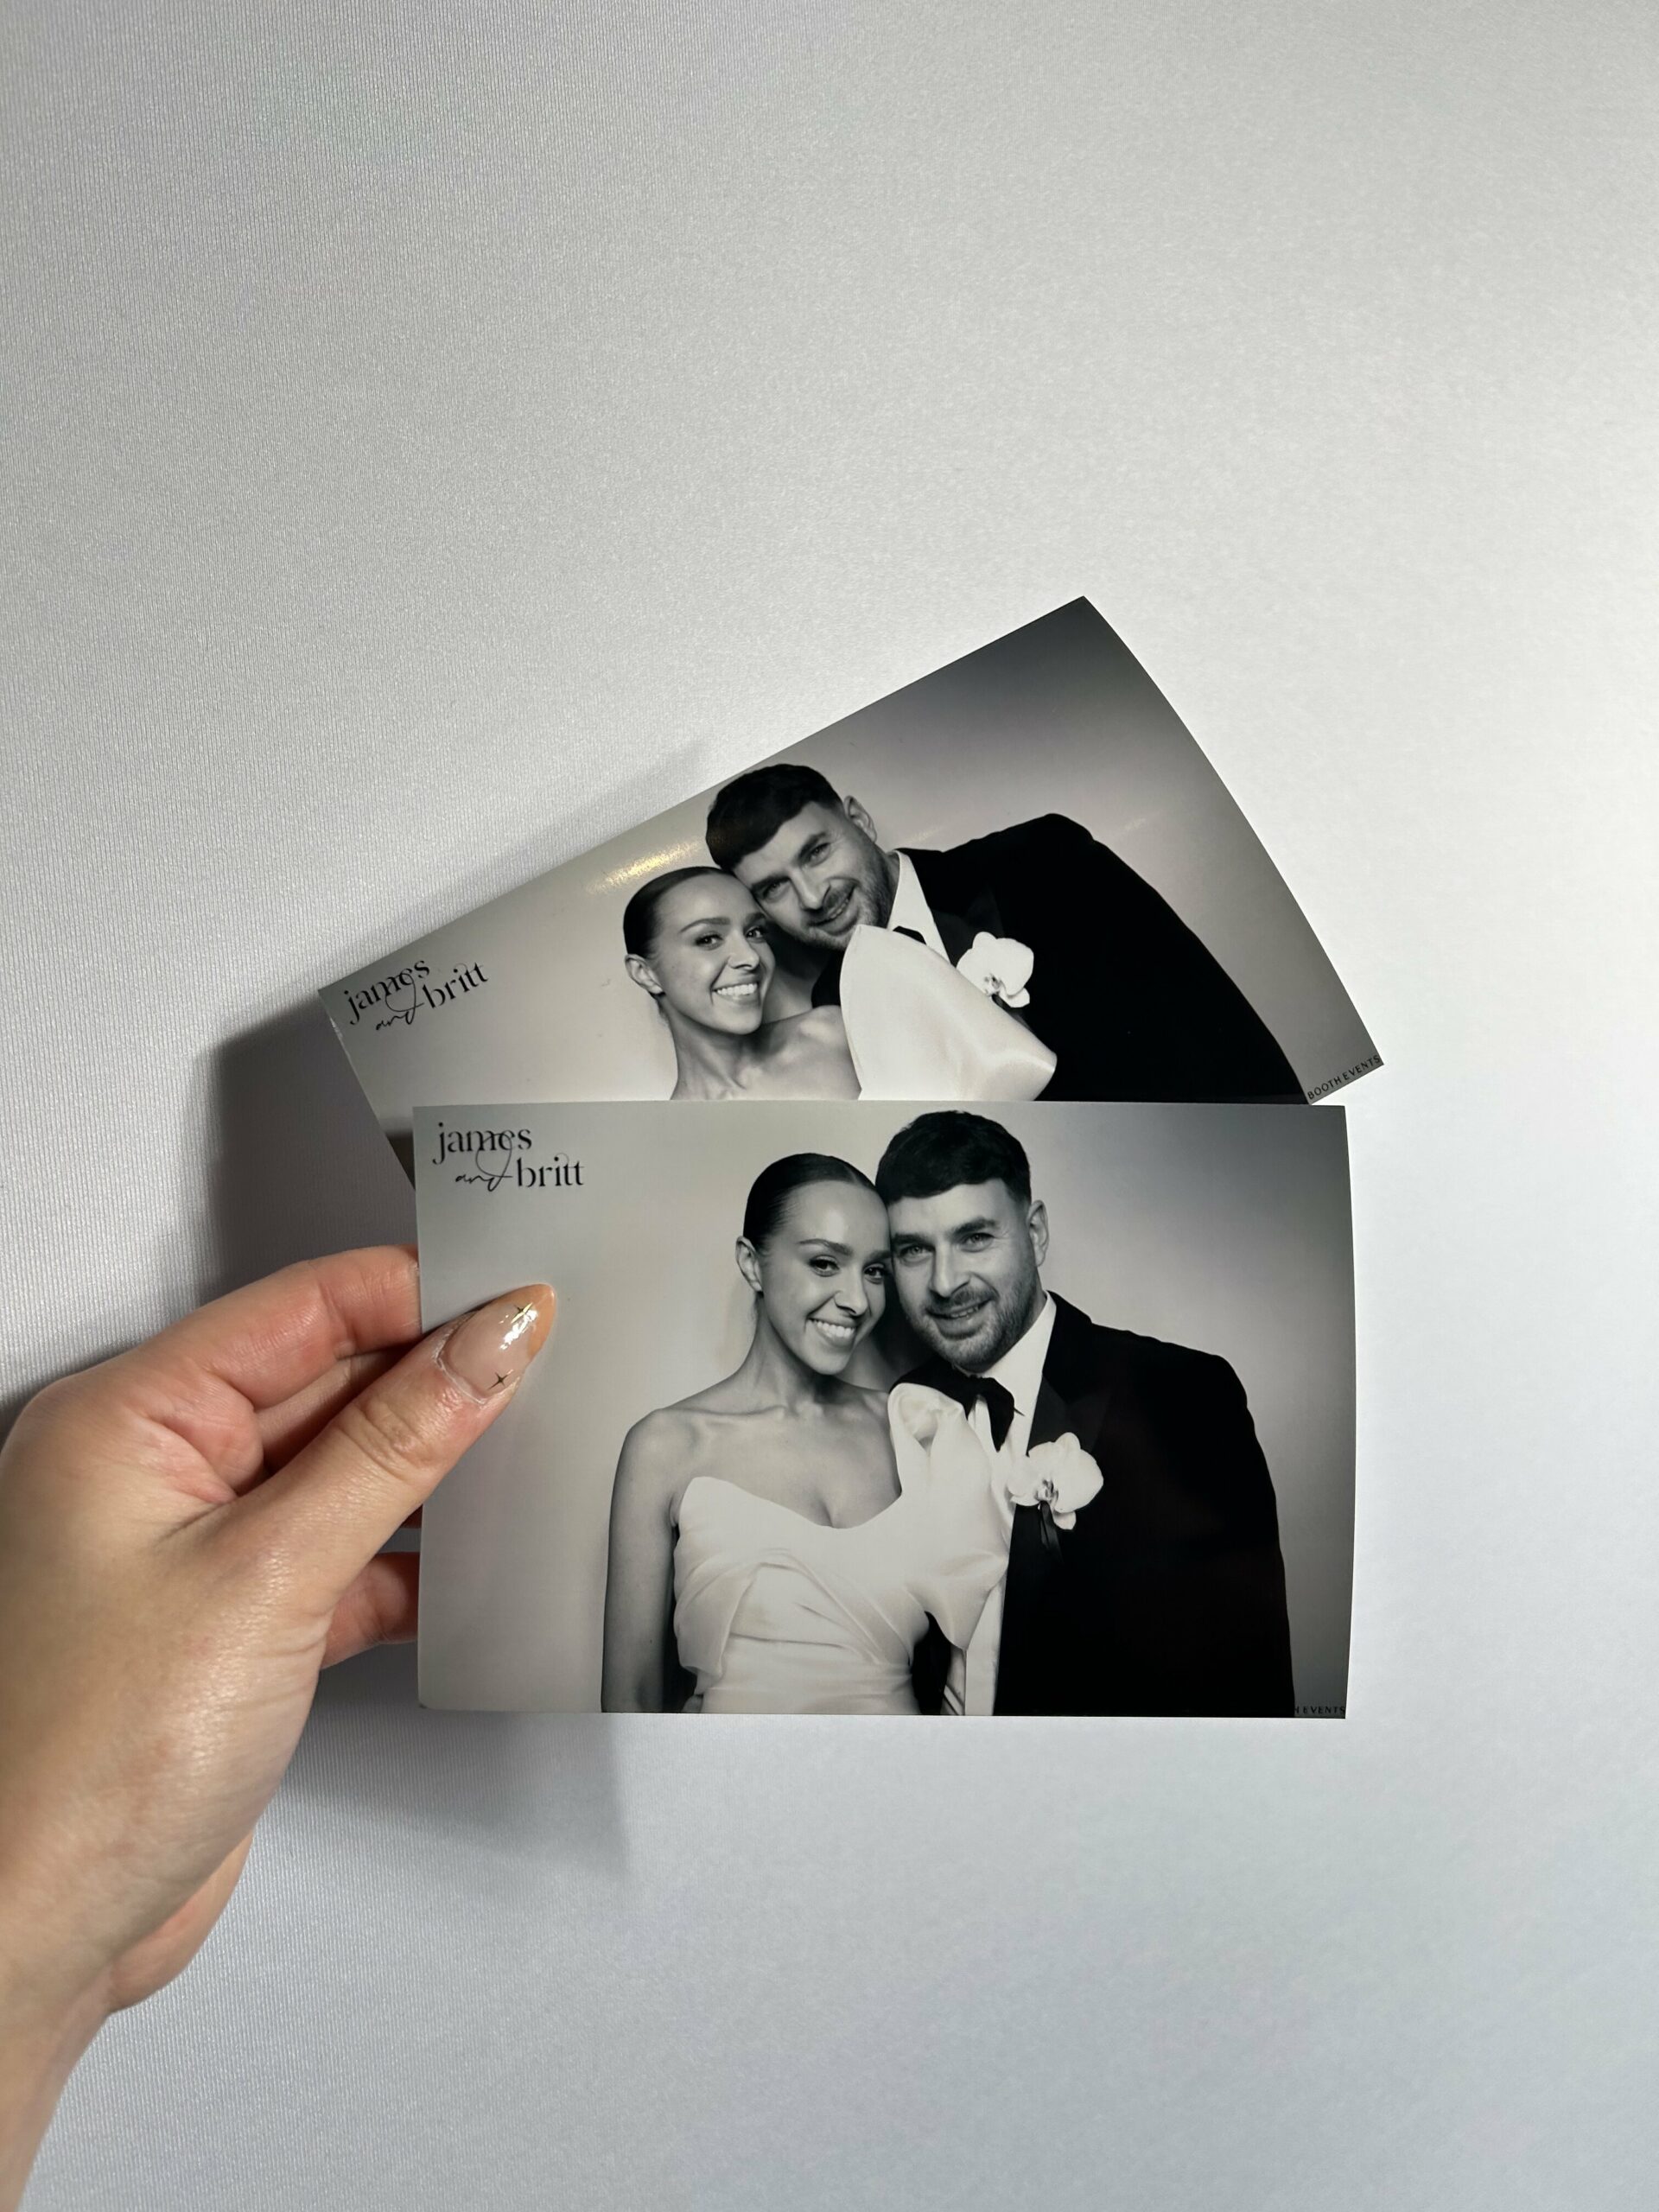
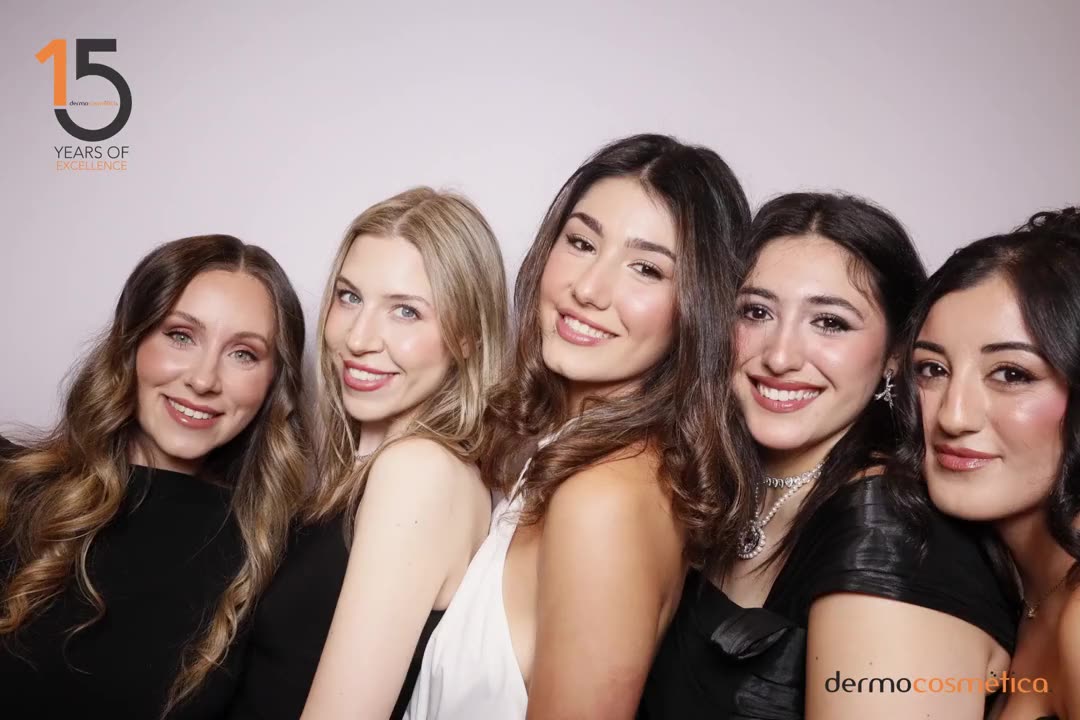
Two 6x4 prints with a custom name design in the corner.
You can read the full breakdown of inclusions and backdrop options on our photo booth hire page, and see how prices are built in our Melbourne photo booth pricing guide.
The middle ground: hire without an attendant
If budget is what pushes you towards DIY, there is an in-between option. Our Remote package uses the same booth, lighting and unlimited prints, but without an attendant on-site. We set up, then monitor the booth remotely every 20 to 30 minutes, with a support number on screen and on a sign. It suits smaller weddings and parties; for weddings over 150 guests we recommend Attended. Our attended vs remote photo booth guide explains the trade-offs in detail.
There is also a Digital Only option: the same quality and service, with guests texting or emailing their photos and GIFs from the touchscreen instead of printing.

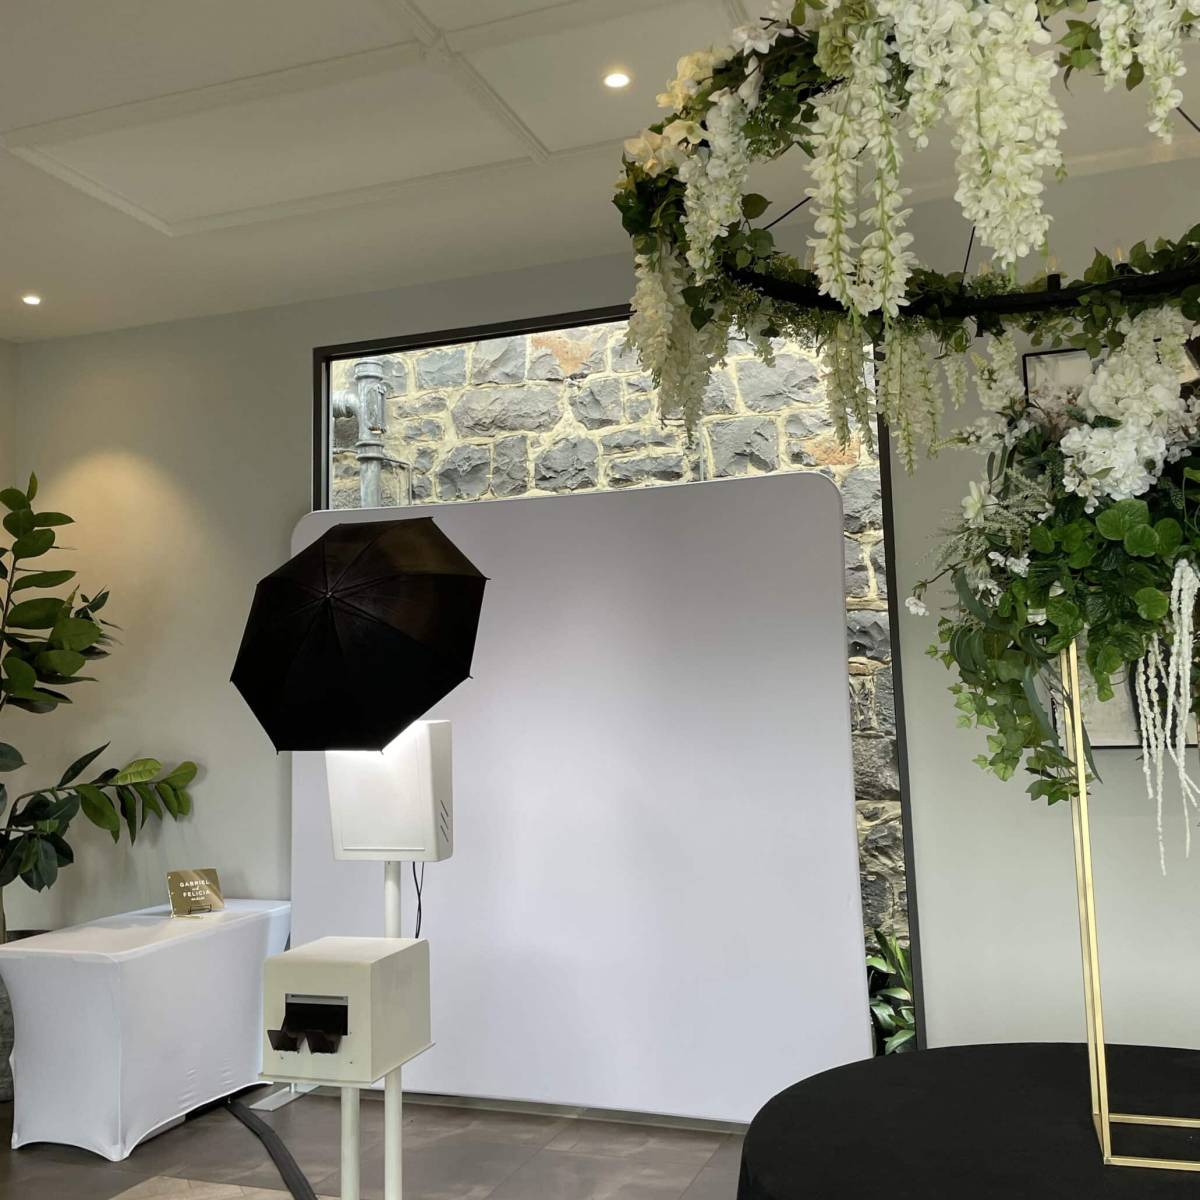
The booth set up and styled beside the reception tables before guests arrive.
So, is a DIY photo booth worth it?
For a small, casual event where digital photos are enough, yes. You can have a lot of fun for little money, especially if you already own a camera.
For a wedding where you want prints, good photos all night and nobody you love stuck minding a printer, professional hire usually comes out ahead. Once you price a fast printer and its paper, the cost gap narrows sharply, and the risk sits with someone else. If you are still deciding how long you’d need a booth for, our guide on how long to hire a photo booth will help, and these backdrop ideas show what the finished setup can look like.
When you’re ready, send us your date and venue and we’ll reply with an itemised quote, so you can compare it honestly against your DIY list.
DIY photo booth questions
Is it cheaper to make your own photo booth?
Usually only if you already own a suitable camera and you skip printing. Software, lighting and a backdrop add up, and a fast event printer on its own can cost more than a full professional hire. Ghost Booth Events packages start from $850 + GST including the printer, unlimited prints, setup and an online gallery.
What do I need for a DIY photo booth?
A camera or tablet, booth software, at least one diffused light, a backdrop on weighted stands, a laptop, a table, a power board with a safety switch and, if you want prints, a photo printer with plenty of paper. You also need someone to set it up, keep an eye on it and pack it away.
Can I use an iPad as a photo booth at my wedding?
Yes, for digital photos at a small, well-lit event. The weak points are lighting once the venue dims the room, and printing, which needs a separate printer. Adding a proper light source makes the biggest difference to the results.
Do I need an attendant if I hire a photo booth?
Not always. Ghost Booth Events offers Attended packages with a trained attendant for the full hire, recommended for weddings over 150 guests, and Remote packages that are monitored every 20 to 30 minutes with a support number on screen, which suit smaller weddings and parties.
How much space does a photo booth need?
The Ghost Booth Events open-air booth needs roughly 2 m by 2 m including the backdrop, plus a standard 10-amp power point within 10 metres. The enclosed booth has a more compact footprint.